🍽️ Basics with Beatdown: Pulled Pork Recipe
The Only Pulled Pork Guide You’ll Ever Need
Welcome to Basics with Beatdown — our new series breaking down the essential recipes every meathead needs to master. And we’re kicking it off with a true BBQ cornerstone: pulled pork.
Pulled pork is more than just smoked meat — it’s a ritual. It’s the smell that lingers in your clothes after a 10-hour cook. It’s the bark that crunches just right. It’s the pile of juicy, smoky meat that turns a regular weekend into a full-on event. Whether you're feeding 2 or 20, this recipe is a guaranteed crowd-pleaser and a rite of passage for anyone serious about BBQ.
Let’s break it down — Beatdown BBQ style.
🐖 Why Pulled Pork?
Pulled pork is affordable, forgiving, and packed with flavor. It comes from the pork shoulder, typically labeled as a Boston butt, and it's loaded with fat and connective tissue — the kind that melts down during a long smoke and turns into tender, shreddable perfection.
This recipe is ideal for anyone getting into barbecue. You don’t need competition-level gear to nail it — just time, patience, and a little smoke discipline.
🔪 What You’ll Need
The Meat:
1 whole pork shoulder (6–8 lbs), bone-in preferred
Look for good marbling and intact fat cap. Bone-in keeps it juicy and gives you a built-in doneness probe — when it pulls out clean, you’re golden.
Binder & Rub:
Yellow mustard (for binder)
Add-ons: brown sugar, smoked paprika, cayenne, cumin — go bold
Fuel & Wood:
Hardwood lump charcoal or briquettes
Wood chunks or chips: hickory, oak, apple, or cherry all work great
Tools:
Smoker, grill (offset or kettle), or pellet cooker
Meat thermometer (leave-in probe and instant-read preferred)
Butcher paper or foil
Cooler or warm oven for resting
🧂 Step-by-Step Instructions
1. Prep the Pork
Trim any excessive fat from the surface — leave about 1/4” on top. Slather with yellow mustard to help the rub stick. Coat generously with your dry rub — every side, every crevice. Let it sit for 30–60 minutes at room temp or refrigerate overnight.
2. Fire Up the Pit
Bring your smoker to 250°F and stabilize it. Place a water pan in the smoker to keep things humid. Add your wood chunks directly to the firebox or coal bed.
3. Smoke It Low and Slow
Place the shoulder fat cap up and let the magic begin. Smoke undisturbed for the first 3 hours. After that, start spritzing every 45 minutes with a mix of apple juice and cider vinegar (optional but boosts bark).
At about 165°F internal, the shoulder will hit “the stall” — a plateau where moisture evaporates and slows down cooking. This is where you wrap.
4. Wrap and Finish
Wrap tightly in butcher paper (preferred for bark) or foil (locks in moisture). Return to smoker and continue cooking until internal hits 200–203°F — or until your probe slides in with zero resistance.
This can take anywhere from 8 to 12 hours depending on size and smoker consistency. Trust the process.
5. Rest Like a Pro
Pull it off the smoker and rest for at least 1 hour, ideally in a cooler or warm oven. Resting lets the juices redistribute and the fibers relax — skip this step and you’ll regret it.
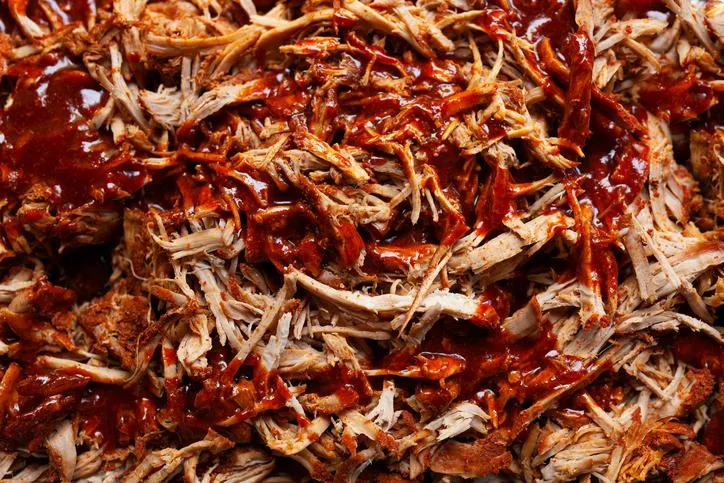
6. Pell and Serve
Remove the bone (it should slide out clean). Pull with your hands, forks, or even the pork bone. Toss with juices from the wrap and serve with your favorite sauce on the side, not drowned in it.
🥪 How to Serve It
Here’s where it gets fun. Pulled pork is a blank canvas:
Classic Sandwich: Brioche bun, tangy slaw, pickles, and a splash of vinegar sauce
Tacos: Top with salsa verde, cilantro, and lime
Nachos: Melted cheese, jalapeños, and BBQ drizzle
Mac & Cheese Topper: Over creamy shells with a spicy rub finish
Breakfast Hash: Mixed with potatoes, topped with a fried egg
Leftovers freeze beautifully — vacuum seal or use freezer bags with the air pushed out.
🧠 Beatdown Tips for Next-Level Pork
BBQ > Sauce: Great pulled pork doesn’t need much sauce. Build flavor through rubs, smoke, and rest.
Fat Cap Positioning: Fat cap up for self-basting; fat cap down if heat source is directly below.
Don’t Rush the Rest: Resting is what turns a good cook into a great one. At least 1 hour, 2 if you can.
Drip Tray Magic: Save the juices that collect in your wrap or drip tray — this liquid gold can be reduced into an au jus or added back into the pork.
Batch Seasoning: If shredding for a party, taste and season the meat as you go. Don’t be afraid to hit it with a little finishing salt or a squeeze of citrus.
🏆 Final Word: Your Pulled Pork Journey Starts Here
Pulled pork isn’t just a recipe — it’s an experience. It teaches you fire control, patience, and the power of simplicity. It’s how you feed a crowd, make friends, and flex a little at the neighborhood cookout. And best of all? Once you’ve done it once, you’re hooked.
So whether you’re using an offset smoker, a kettle grill, or even a pellet rig, this is your sign: go get a pork shoulder and put it to work.
This is the first in our Basics with Beatdown series — real recipes, no shortcuts, all smoke. Next up: Ribs done right (and no, we’re not boiling them).
📸 Cooked along with us? Tag your pulled pork creations @BeatdownBBQ and let us see that masterpiece.
