🍽️ Recipe of the Week: Texas Brisket
Master the Art of Slow-Smoked Brisket, Lone Star Style
There’s brisket—and then there’s Texas brisket. This isn’t just food; it’s a ritual, a legacy, and the crown jewel of American BBQ. You don’t slap a brisket on the pit to get dinner. You cook brisket to make a statement.
This week, we’re diving deep into our recipe for classic Texas-style brisket—born from tradition, battle-tested in competition, and taught in our latest online class. It’s big, it’s bold, and when done right, it’ll earn you pitmaster respect from coast to coast.
🐄 What Makes It "Texas" Brisket?
Texas-style brisket is all about simplicity and smoke. No sugary sauces, no frilly marinades. The core philosophy:
🔥 Salt. Pepper. Smoke. Patience.
That’s it. Because if the meat is good and the cook is clean, you don’t need to hide behind anything else.
We’re using a full packer brisket (both point and flat), hardwood smoke, and a minimalist rub that lets the beef—and bark—shine. This isn’t just a meal. It’s a 12–16 hour journey. So grab your coffee, fire up your smoker, and get ready to ride.
🔪 Ingredients & Gear
The Meat
1 whole packer brisket, 12–16 lbs
(Look for USDA Prime or Choice. Wagyu? Even better.)
The Rub
1/3 cup kosher salt
1/3 cup coarse black pepper
Optional (if you want a twist):
1 tbsp garlic powder
2 tbsp ground espresso or instant coffee
Extras
Spray bottle with apple cider vinegar or beef broth
Unwaxed butcher paper or heavy-duty foil
Meat thermometer (leave-in probe preferred)
Cooler or cambro for resting
Wood Choices
Oak (traditional), hickory, or a blend with a little mesquite
No fruitwoods here—Texas brisket wants bold smoke.
🧼 Step 1: Trim Like a Pro
Start with trimming. Unwrap that brisket and get to know its curves. Your goal: shape it for even cooking and expose the meat so the rub can penetrate.
Trim fat cap to ~¼″—enough to protect but still render.
Remove hard white fat—it won’t melt and just gets in the way.
Square off any thin edges to avoid drying out.
If you’re not sure how to trim it? We walk through the full process in our class (and the replay’s free online now).
🧂 Step 2: Rub Down
Slather the whole brisket in the salt and pepper rub. Be generous—this is bark-building time. Pat, don’t rub. You want a crust, not a coating.
If you’re using espresso or garlic powder, blend it into the rub. The espresso darkens the bark beautifully and gives it a subtle earthy bite.
Let it sit while you fire up your smoker. No need to refrigerate—you want the brisket to go in close to room temp.
🔥 Step 3: Fire It Up
Set your smoker to 250°F. You can go lower (225°F) if you’ve got all day, but 250°F is our sweet spot.
Place the brisket fat cap up, with the point facing the hotter zone of your smoker.
Now close the lid and leave it alone. Resist the urge to peek too often—it just drops the temp and messes with airflow.
Every hour or so, give it a light spritz with apple cider vinegar or broth. This helps keep the surface moist and encourages smoke to stick.
⏱️ Step 4: The Stall & The Wrap
Around 160–170°F, your brisket will hit the stall—that annoying, magical moment where internal temp flatlines for hours. This is when moisture is evaporating from the surface, cooling the meat.
You’ve got two choices:
Crutch it: Wrap tightly in butcher paper or foil to power through.
Tough it out: Let it ride for max bark.
We recommend wrapping at 170°F for balance. Butcher paper is best—it breathes a little and keeps the bark from going soggy.
🌡️ Step 5: Cook to Feel, Not Time
Ignore time estimates. Every brisket is different. Cook until the thickest part of the flat hits 200–205°F, but more importantly, until it’s probe tender.
Use a thermometer or skewer—it should slide in like butter, no resistance.
🧊 Step 6: Rest is Mandatory
Once it hits temp and tenderness, don’t slice it yet.
Wrap it in towels or leave it in butcher paper.
Place in a cooler (no ice) or warm oven.
Let it rest 1–2 hours—this lets juices redistribute.
Cutting too early means dry meat. You came this far—finish strong.
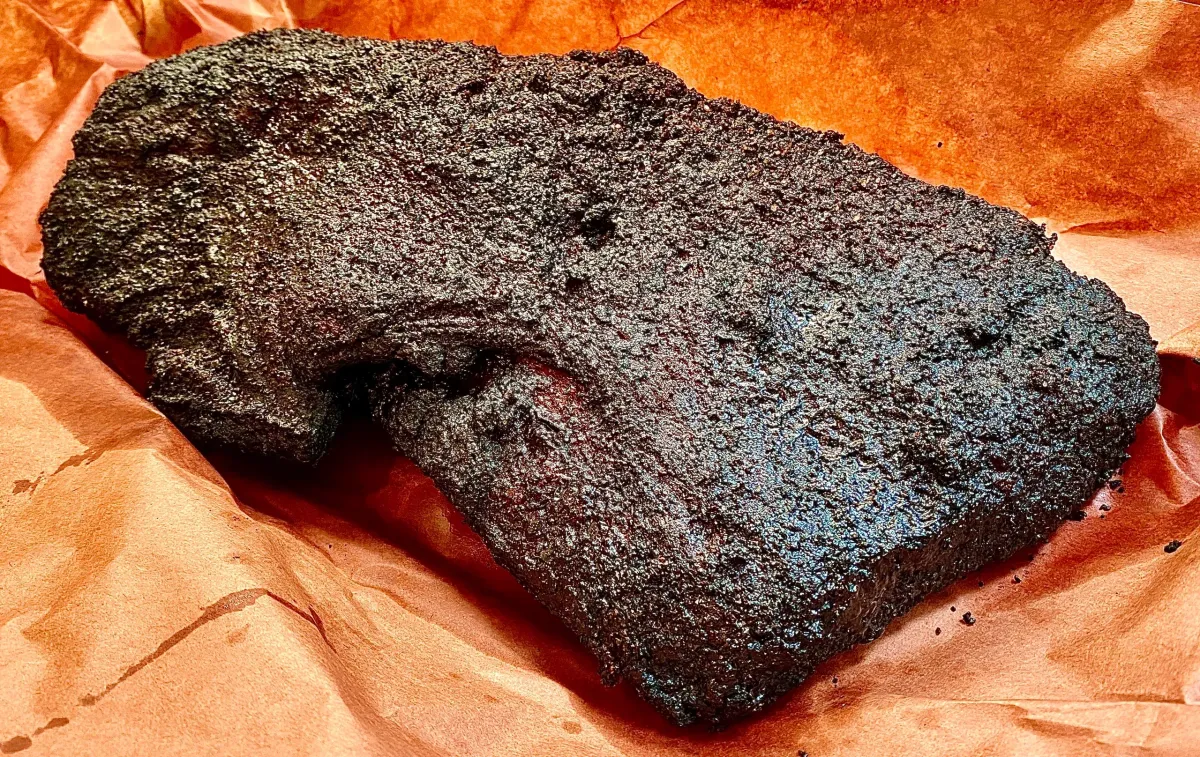
🔪 Step 7: Slice & Serve
Unwrap that beauty and admire the bark. Now flip it fat side down so you can slice clean.
Flat: Slice across the grain, about ¼″ thick.
Point: Turn 90 degrees and slice into fattier, thicker chunks or burnt ends.
Serve it Texas-style:
Plain with white bread, pickles, onions
Or next-level with jalapeño cheddar cornbread and hot sauce
🤔 Tips from the Pit
Q: Should I use mustard or binder?
You can, but for Texas brisket, salt and pepper stick just fine.
Q: Can I rest brisket overnight?
Yes—wrap and rest in a cooler up to 4 hours. Reheat low and slow if needed.
Q: My bark turned soggy in foil!
Next time, try butcher paper or unwrap for the last 30 minutes of the cook.
🏁 Final Word
This brisket recipe isn’t just about technique. It’s about joining a tradition of slow, fire‑kissed flavor. One that spans smokehouses, backyards, and BBQ joints across the Lone Star State and beyond.
So pour yourself a coffee (or some whiskey, fire up that pit, and give this one the time it deserves. You’ll end up with a brisket that pulls clean, bends right, and disappears fast.
And don’t forget—if you cooked this one up, tag us @TheMeatClass and let us see those slices!
